About Creating Tickets
Most tickets arrive automatically from a call centre. But sometimes you need to create one by hand — for a job that never went through a one-call centre, or for internal work. That's a private ticket, and this guide shows how to make one.
A ticket you create inside LocateOps is called a private ticket. It behaves like any other ticket on the board — it gets assigned, worked, and completed — with two important differences that this guide explains: it never gets sent to a call centre, and its completion notice goes straight to the customer by email.
Private ticket vs receiving an external ticket
Before you create a ticket, make sure you actually need to. The two ways a ticket comes to exist:
| External (call-centre) ticket | Private ticket | |
|---|---|---|
| How it arrives | Automatically, by email from a call centre (Ontario One Call, Before You Dig Partners). | You create it by hand. |
| Source badge | On1Call or Irth. | Private. |
| Reported back to | The call centre (a status push) and the excavator. | The customer, by email only — never a call centre. |
| When to use | Never create these by hand — wait for them to arrive. | A job with no call-centre ticket: internal work, private property, a direct customer request. |
If a job did go through a call centre, do not create a private ticket for it — the real ticket will arrive on its own, and a hand-made duplicate won't be linked to the call centre. Only create a private ticket when there is genuinely no external ticket coming.
The Create Flow, Step by Step
Open Tickets → Create (the “+ Create Ticket” button on the board). The create form is the same on desktop and mobile.
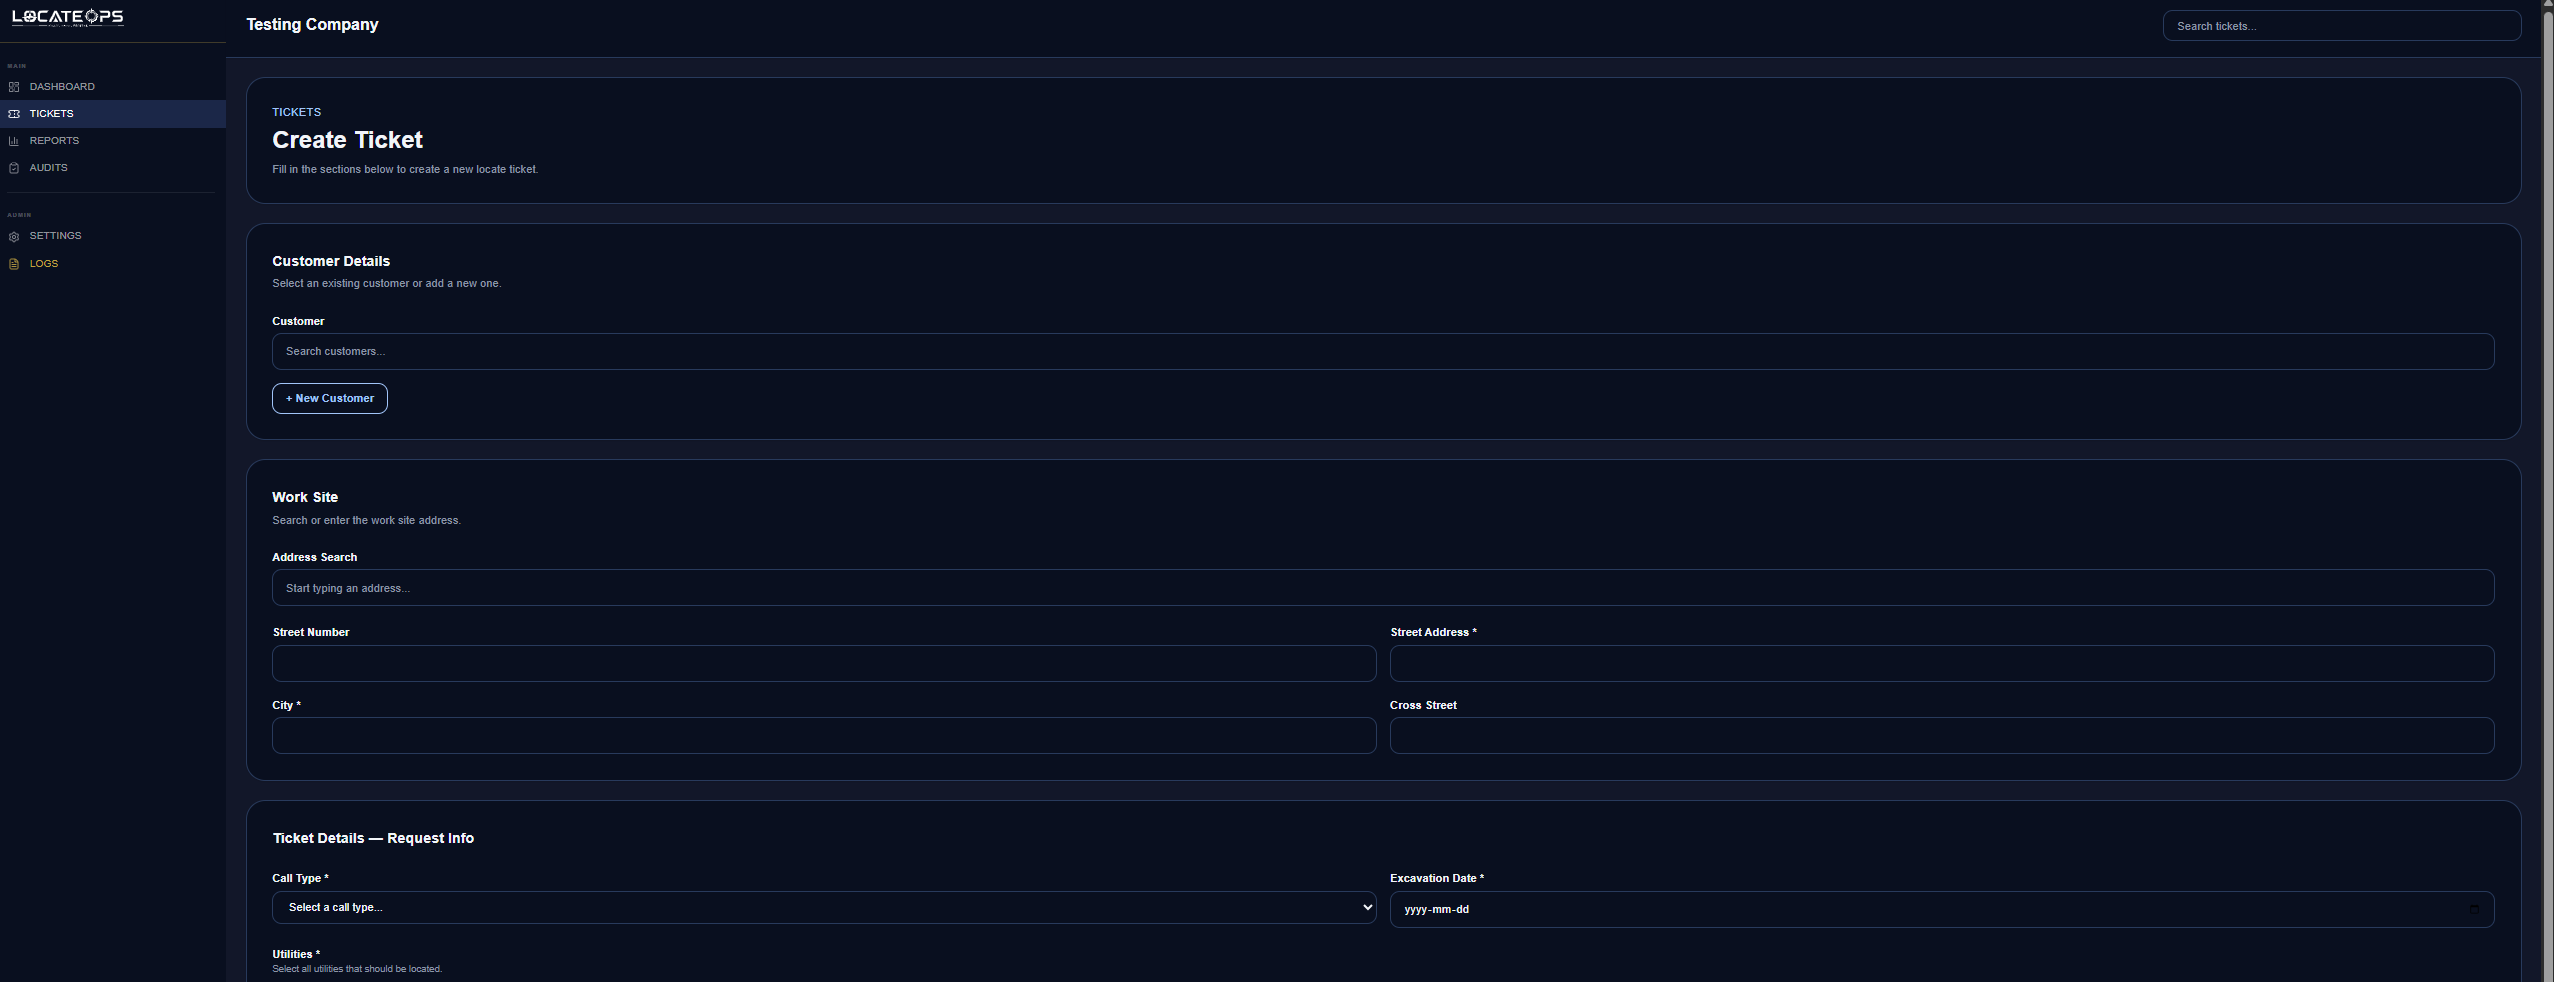
Step 1 — Choose the customer
- Start typing in the Customer field. LocateOps suggests matching active customers from your company's customer list.
- Pick the customer. Their contact details (name, phone, email) are pulled in automatically and become the ticket's excavator details — see Customer & excavator details below.
- If the customer isn't in the list yet, add them first in Settings → Customers (see the Customer Management guide), then come back.
Only active customers appear in the picker. A disabled customer stays on existing tickets but can't be selected for a new one.
Step 2 — Select the utilities
The Utilities field is a multi-select of the station codes your company locates. Pick every utility this locate covers. You must select at least one.
There is always a special Private option at the bottom of the list (labelled “In-system · no call center”):
- Real station codes — the utilities your company is registered to locate (gas, electric, telecom, and so on).
- Private — use this when the locate isn't tied to any registered utility code, or when your company hasn't set up a station-code catalog yet.
Private is mutually exclusive with real codes. Selecting Private clears any real codes you picked, and selecting a real code clears Private. A ticket is either a Private in-system locate or a set of real utilities — not both.
If your company has no station codes set up yet, the Private option is your safety net — it's always there, so you can always create a ticket and satisfy the “at least one utility” requirement.
A Private ticket carries only the single “Private” utility. The automatic dedicated-locator (DL) codes that normally get added to a ticket are deliberately skipped for private locates, so your company's standard codes never leak onto an in-system job.
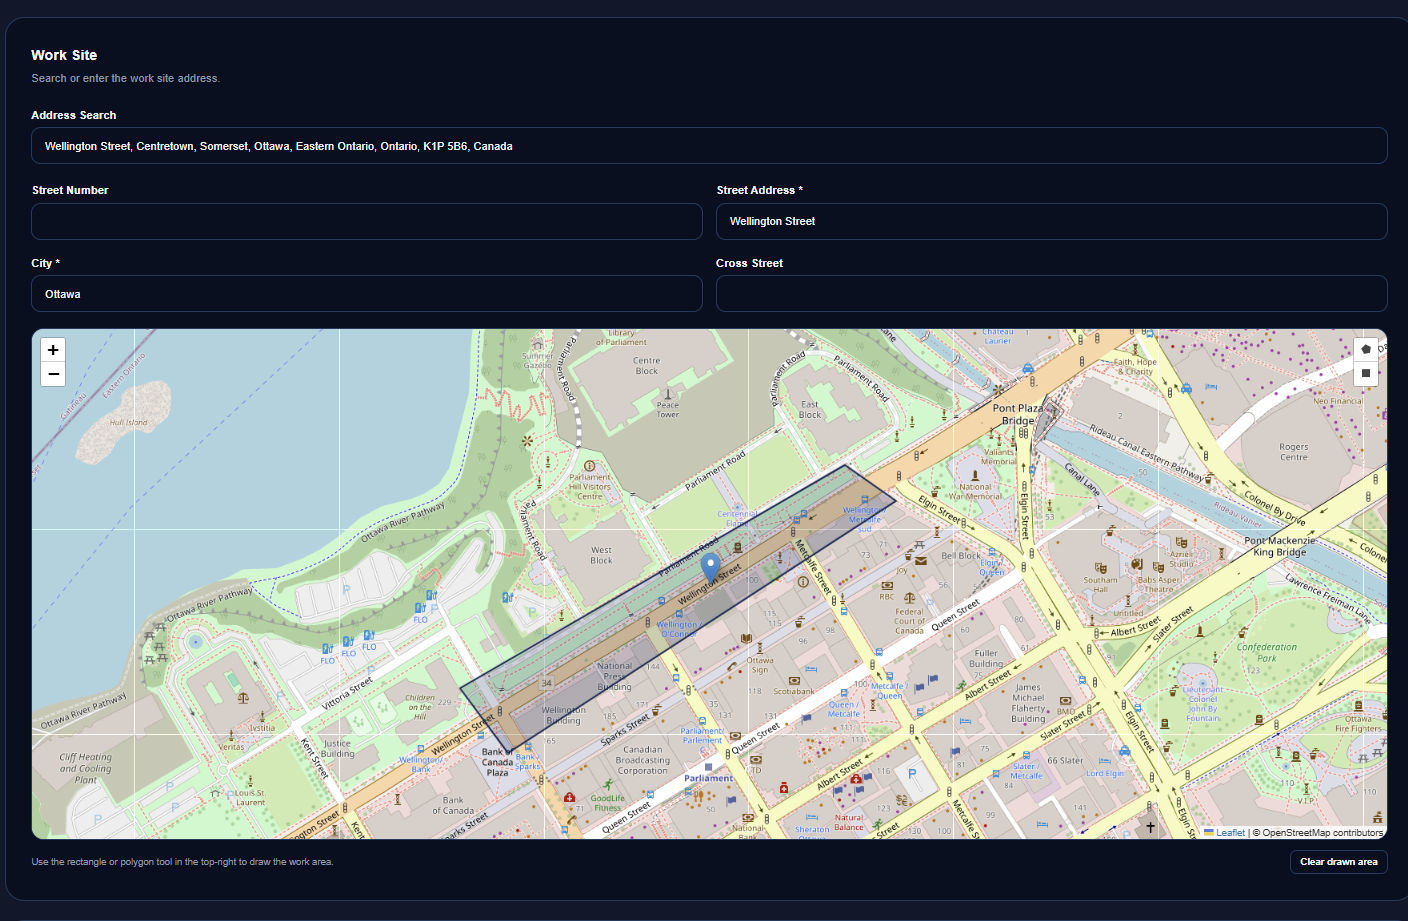
Step 3 — Location & map
- Enter the dig address, city, and any location detail.
- Place the work location on the map. The create form gives you a tall map so you can position it precisely.
- Add any project number, work description, or remarks the locator will need.
Step 4 — Optional extra completion email
If someone besides the customer should receive the completion notice, add their address in the Additional completion email field. They'll be CC'd when the ticket is completed. This works on every ticket, private or not.
Step 5 — Create
Review the form and click Create. The ticket is saved and appears on the board as Unassigned, ready to be assigned and worked.
Customer & Excavator Details
On a call-centre ticket, the excavator (the person digging) comes from the call centre. A private ticket has no call centre, so LocateOps fills the excavator details from the customer you selected.
When you create a private ticket, the customer's contact information maps into the ticket's excavator fields:
| Ticket field | Filled from the customer |
|---|---|
| Excavator | Customer name |
| Excavator contact name | Contact name |
| Excavator phone | Contact phone |
| Excavator email | Contact email |
The excavator email is the address the completion notice is sent to. If the selected customer has no contact email, the completion email is skipped — so make sure your customers have email addresses on file before relying on the private-completion email.
These details are copied at creation time. You can edit the excavator fields on the ticket afterward if they need to change — the locate isn't locked to the customer record.
Field Requirements
To create a ticket you need, at minimum:
- A customer (so the ticket has an excavator and a completion-email recipient).
- At least one utility (a real station code or the Private option).
- A location (address + map position).
Everything else — project number, remarks, additional email — is optional but helpful to the locator.
What Happens After You Create
- The ticket appears on the board as Unassigned with a Private source badge.
- A dispatcher (or you) assigns it to a locator.
- The locator does the work and completes it like any other ticket — see the Completing Tickets guide.
- On completion, the customer is emailed the completion package when someone clicks Upload Tickets — see the Uploading Tickets guide.
A private ticket never pushes a status to a call centre — there's no call centre involved. Its only outbound step is the customer completion email. That's the key difference from an On1Call or Irth ticket.
Common Scenarios
“A customer called us directly for a locate — no one-call ticket.”
That's exactly what private tickets are for. Create one, pick the customer, choose the utilities (or Private), set the location, and assign it.
“We just started using LocateOps and haven't set up station codes.”
Use the Private utility option — it's always available, so you can create and work tickets immediately while the station-code catalog is being built.
“The completion email needs to go to two people.”
Put the second address in Additional completion email when you create (or on the ticket later). The customer is the main recipient; the extra address is CC'd.
“The customer isn't in the dropdown.”
They're either not added yet or have been disabled. Add or re-enable them in Settings → Customers, then return to the create form.
Gotchas & Tips
Don't hand-create call-centre tickets. If it went through a one-call centre, the real ticket is coming — a private duplicate won't be linked.
No customer email = no completion email. The private-completion notice rides on the customer's contact email. Keep customer emails current.
Private and real utility codes can't mix on one ticket. Choose one model per ticket.
The Private option is always there. Even with an empty station-code catalog, you can always create a ticket.
Use the tall map to place the work pin accurately — the locator relies on it to find the site.
Can't find what you need? We respond personally to every message.