About the Tickets Board
The Tickets Board is the home screen of LocateOps. It is the single place where every locate request your company is responsible for shows up, gets assigned, gets worked, and gets closed out.
Whether a ticket arrived automatically from a call centre (Ontario One Call, Before You Dig Partners, and others) or was created by hand inside LocateOps, it lands on this board. From here you find the ticket you need, see its status at a glance, open it to do the work, and move it through to completion.
This guide walks through everything the board can do, from the first time you open it to the day-to-day shortcuts that save you time.
Why the board exists
Locate companies juggle dozens or hundreds of open tickets at once, each with its own deadline, location, and assigned locator. The board exists to answer four questions quickly:
- What needs my attention right now? — late tickets, new arrivals, and work assigned to me.
- Who is doing what? — which locator owns each ticket, and what is still unassigned.
- Where does each ticket stand? — its current status in the workflow.
- How do I find one specific ticket? — fast search and saved filters.
Everyone sees the same board, but what is on it depends on your role and permissions. A locator typically sees their own work; a dispatcher or supervisor sees the whole company. The board automatically scopes itself — you never see another company's tickets.
Opening the Board & Choosing a View
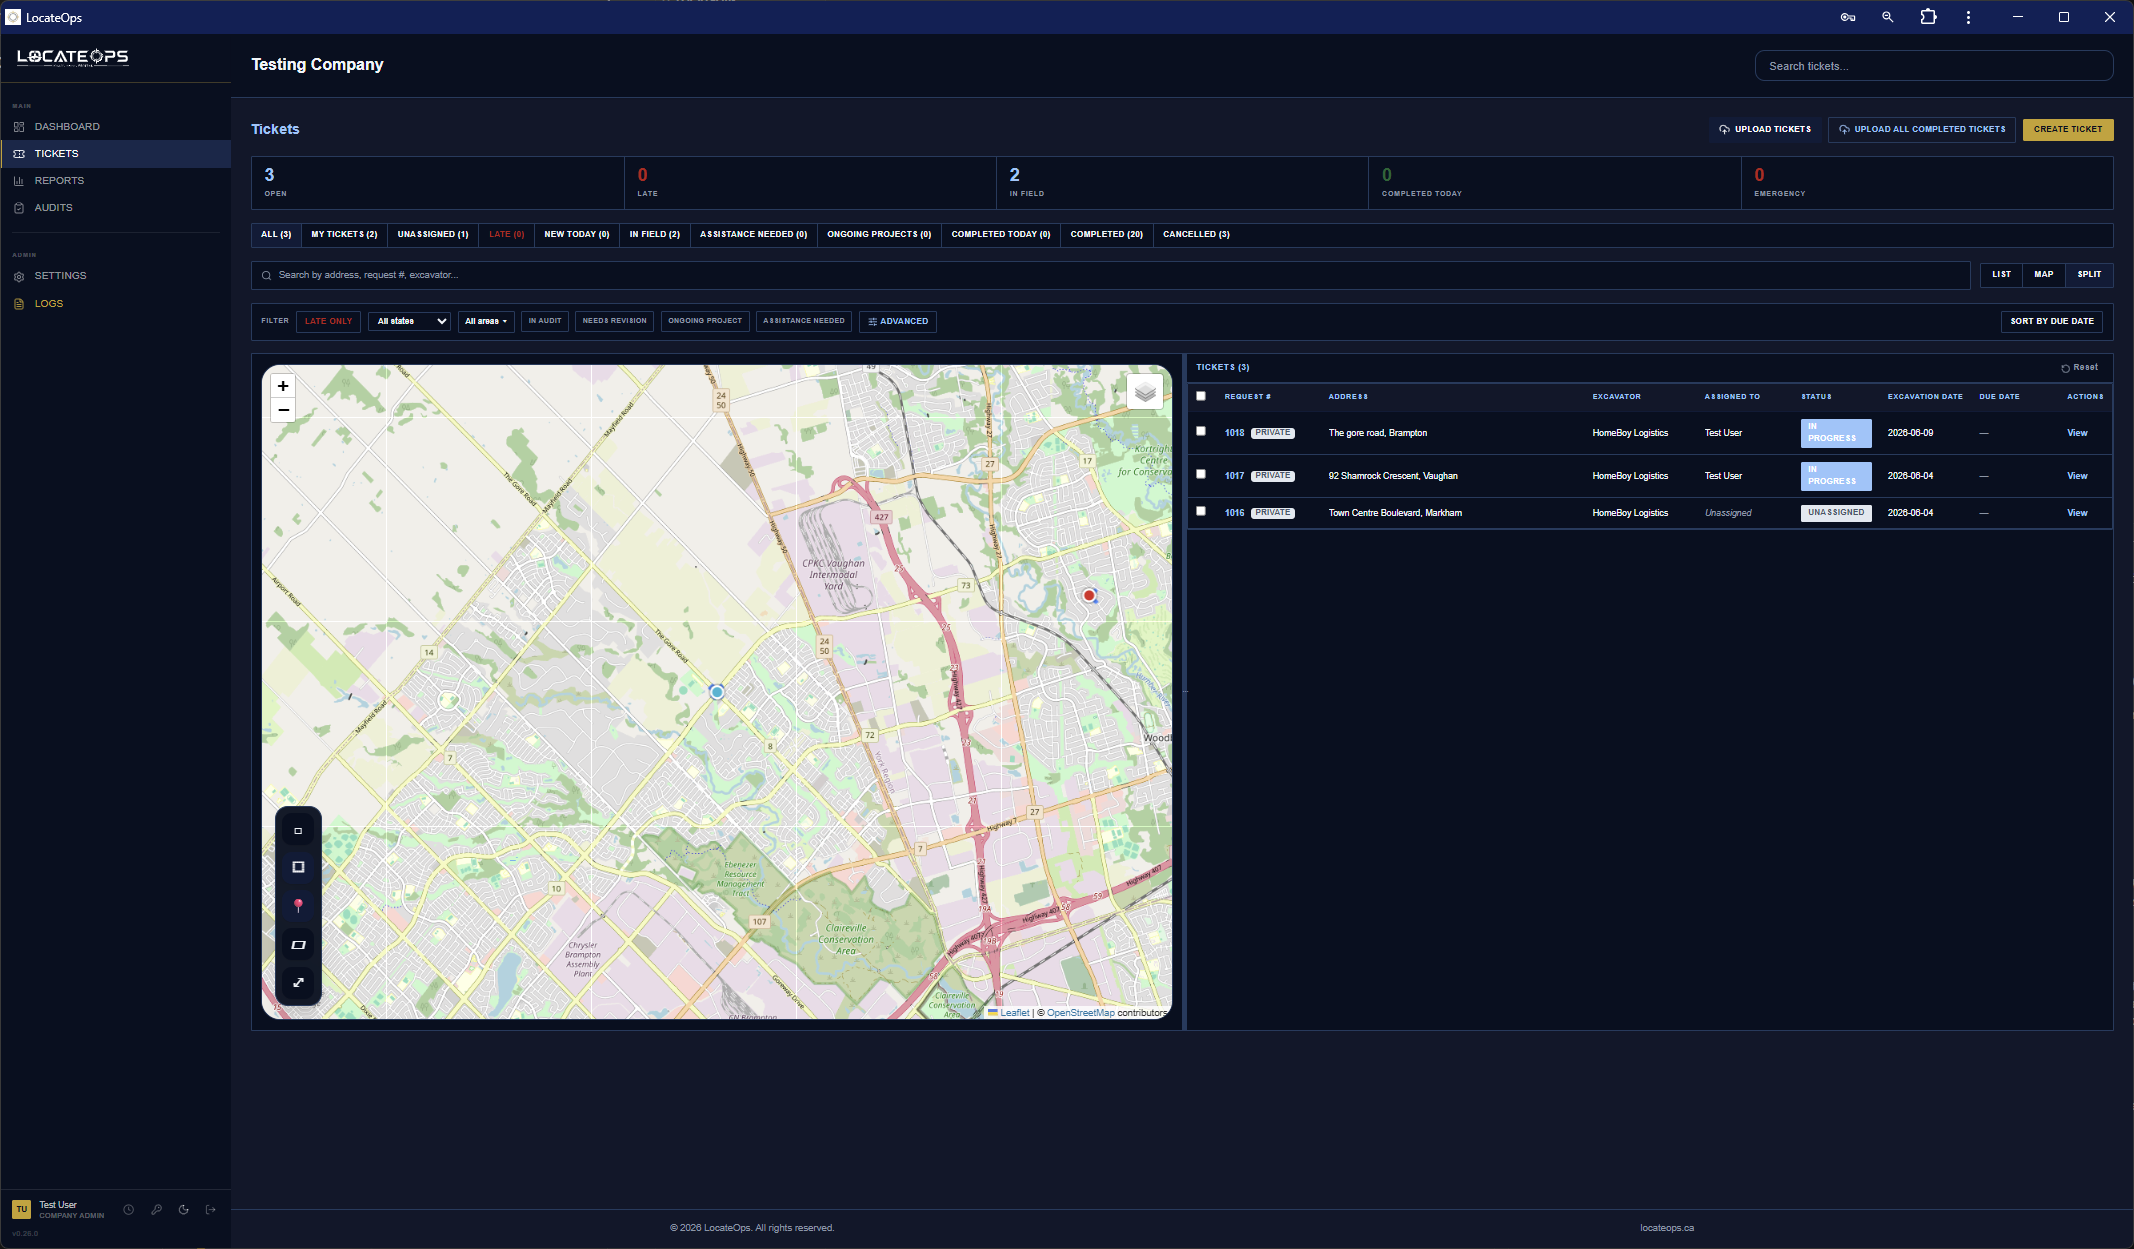
Sign in and you arrive at your Dashboard. Click Tickets in the left sidebar (or the bottom navigation on mobile) to open the board.
Three ways to look at your tickets
On a desktop or laptop, a view switcher near the top lets you choose how tickets are displayed:
| View | What it shows | Best for |
|---|---|---|
| List | A scrollable table — one row per ticket, with columns for status, request number, address, and assignee. | Scanning, sorting, and bulk actions. |
| Map | Every ticket plotted as a pin on a map, with its dig area outlined. | Seeing where work clusters geographically. |
| Split | Map on the left, list on the right, with a divider you can drag. | Planning a route while keeping the list handy. |
Whichever view you pick is remembered as your personal default — the next time you open the board it opens the same way. You can change it any time. In Split view, the position you drag the divider to is also saved.
If the map ever fails to load (a flaky connection, for example), LocateOps shows a “Switch to List View” button so you are never stuck on a blank screen.
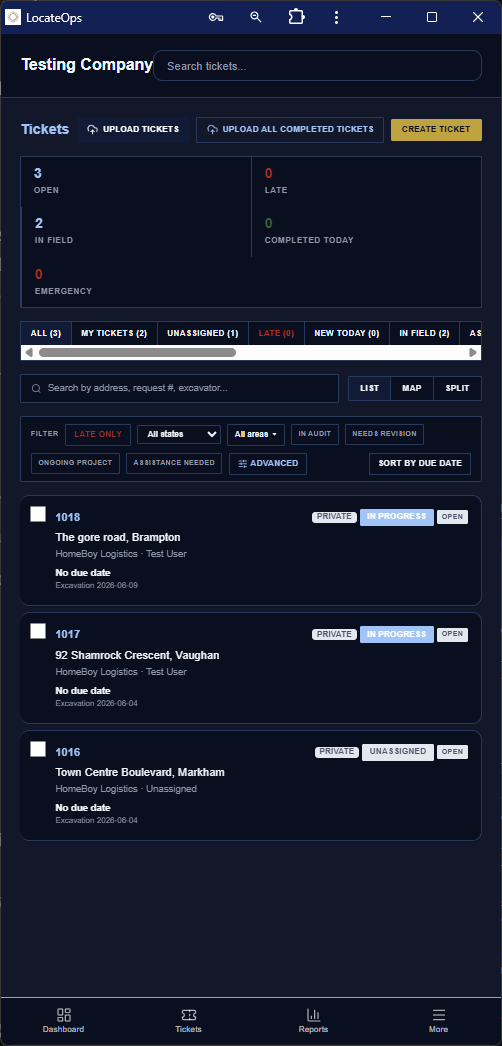
On a phone
On a phone the board always uses the List view, shown as tap-friendly cards instead of a wide table. The map and split views are desktop-only — a phone screen is too small to plan on a map comfortably. Everything else (filters, search, opening a ticket) works the same way.
Reading a Ticket Row
Before filtering and searching, it helps to know what each ticket row is telling you. A lot of information is packed into a single line.
What's on a row
- Status badge — a coloured pill showing where the ticket is in the workflow (Unassigned, Assigned, In Progress, Audit, Completed, and so on).
- Request number — the ticket's unique number. This is usually the number the call centre assigned.
- Call centre badge — a small pill showing where the ticket came from: On1Call, Irth, or Private (created inside LocateOps).
- Address / location — the dig site.
- Excavator — the company or person doing the digging.
- Assigned to — the locator responsible. Blank means nobody is assigned yet.
- Dates — when work is due to begin, and other key dates depending on the column.
- Tags — any labels applied to the ticket.

Row colours tell a story
The background colour of a row is a quick health signal:
| Colour | Meaning |
|---|---|
| Pale pink | The ticket is late — its work-to-begin date has passed and it is not yet completed. |
| Pale blue | The ticket was completed today. |
| Highlighted | You have selected the row (for a bulk action). |
| No colour | A normal, on-track ticket. |
If more than one applies, the most urgent wins: a selected row shows as selected, otherwise late beats completed.
The countdown and the review dot
Two more signals are worth knowing:
- Due-date countdown — small text such as “Due in 2 days”, “Due today”, or “Late by 3 days” helps you triage at a glance.
- Call-centre review dot — a small coloured dot appears when the call centre has re-sent the ticket. A gold dot means an update arrived that needs an administrator to review it; a blue dot means an update was received and already applied to the ticket. Open the ticket to see the details.
Call centres re-transmit tickets when something changes — an amendment, a cancellation, or simply a re-send. LocateOps detects this and flags the ticket rather than silently overwriting your work. See the Completing Tickets guide for what the review banner asks you to do.
Quick Views — the Filter Tabs
Above the list is a row of quick-view tabs. Each one is a saved filter that narrows the board to a common slice of work. Tap a tab and the board updates instantly.
The standard quick views
| Quick view | Shows |
|---|---|
| All | Every ticket except cancelled ones. |
| My Tickets | Tickets assigned to you. |
| Unassigned | Tickets with no locator yet — the dispatcher's to-do list. |
| Late | Past their work-to-begin date and not completed. |
| New Today | Tickets that arrived today. |
| In Field | Tickets currently being worked. |
| Assistance Needed | Tickets a locator has flagged for help. |
| Ongoing Projects | Longer-running project tickets. |
| Completed Today | Finished today — useful at end of day. |
| Completed | All completed tickets. |
| Cancelled | Cancelled tickets (hidden from every other view). |
Cancelled tickets are deliberately hidden from every quick view except Cancelled. If a ticket seems to have vanished, check the Cancelled tab before assuming it was deleted — LocateOps never truly deletes tickets.
Locators usually live in My Tickets and Late. Dispatchers usually live in Unassigned and New Today.
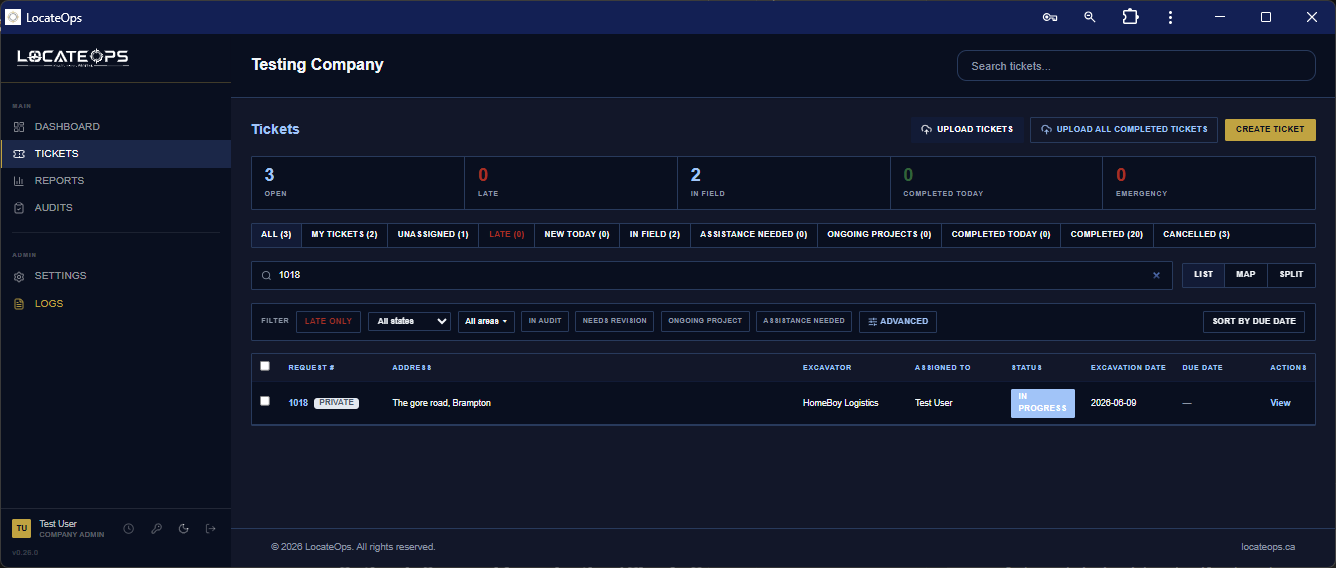
Finding One Ticket — TopSearch
When you need a specific ticket, use the search bar at the top of the board (TopSearch). Start typing a request number, address, excavator, or other detail and the list filters as you type.
Quick-filter by call centre
TopSearch also lets you quickly narrow the board to a single source. Filtering by call centre answers questions like “show me only my private (in-system) tickets” or “show me only the On1Call tickets”. The available sources are:
- On1Call — tickets from Ontario One Call.
- Irth — tickets from Before You Dig Partners / IRTHNet.
- Private — tickets created inside LocateOps that never go to a call centre.
Status filters work the same way regardless of source — a Completed On1Call ticket and a Completed private ticket both appear under Completed.
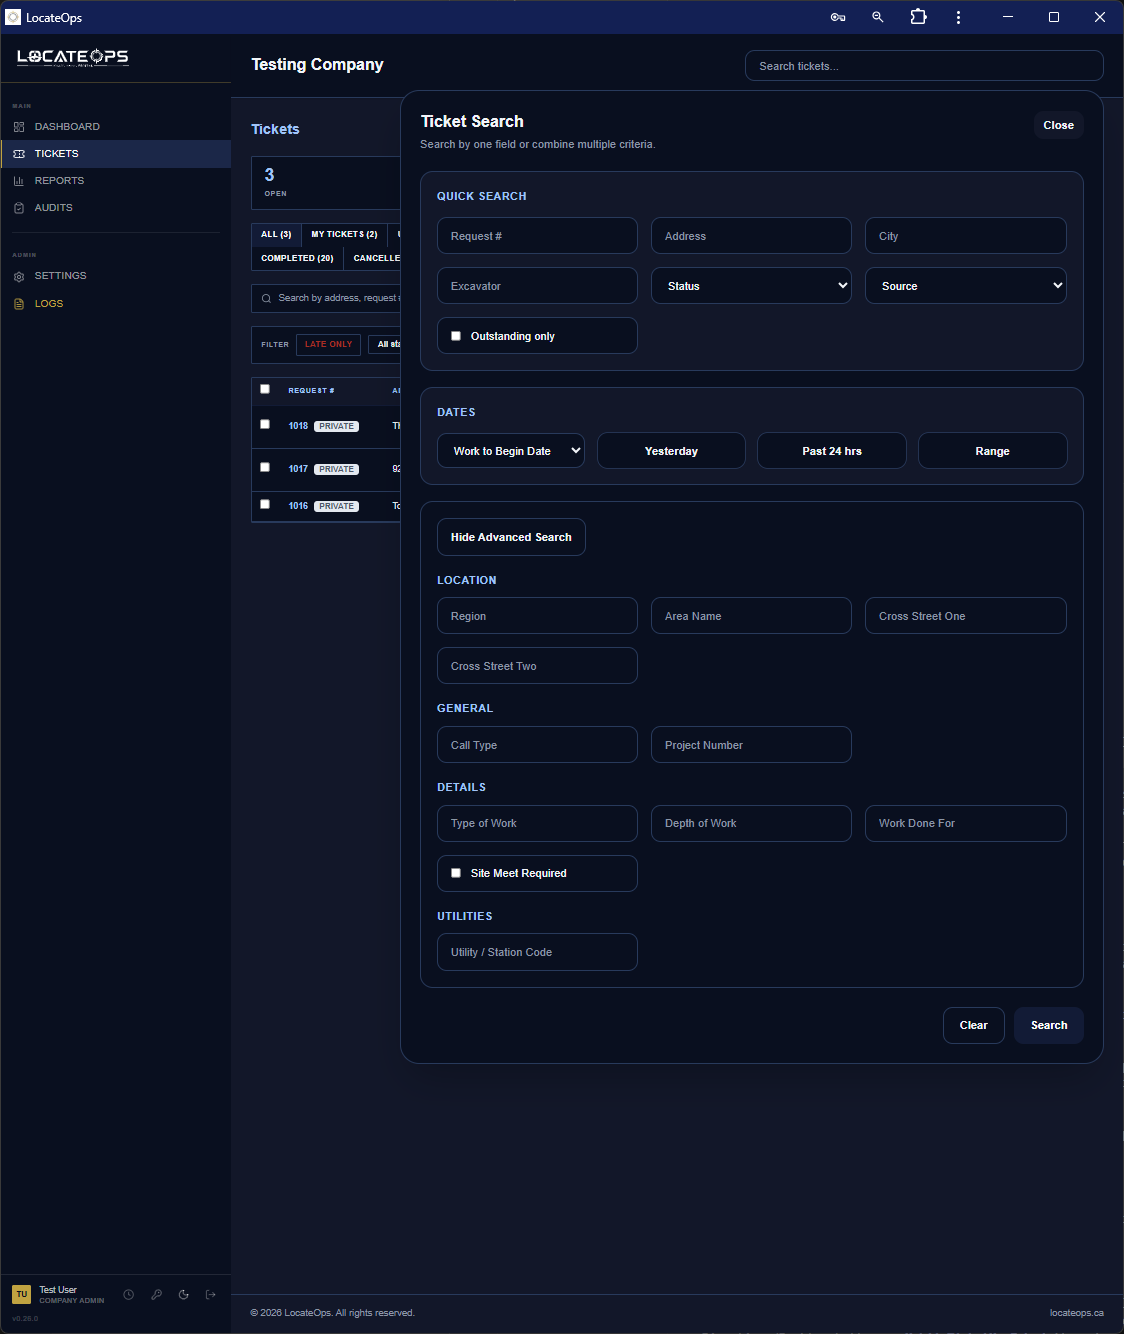
Saved Searches
Quick views cover the common cases. When you have a filter you run over and over — “late electric tickets in the east end”, say — save it once and reuse it forever.
Building a saved search
- Open the search / filter panel on the board.
- Add one or more conditions using the query builder — for example Status is Assigned, Source is On1Call, Work-to-begin date is before today.
- Combine as many conditions as you need; they narrow the results together.
- Preview the results to confirm you are getting what you expect.
- Give the search a clear name and save it.
Mine vs Universal
When you save a search you choose who can use it:
| Type | Who sees it | Use it for |
|---|---|---|
| Mine | Only you. | Personal working filters you don't want cluttering everyone's list. |
| Universal | Everyone in your company. | Shared filters the whole team relies on, set up once by a dispatcher or supervisor. |
Keep personal experiments as Mine. Promote a filter to Universal only once you are confident the whole team benefits — Universal searches appear for every user.
Filtering by call centre in a saved search
Source (call centre) is a first-class filter condition, so you can build saved searches like “Private tickets completed this week” or “Irth tickets still unassigned”. This is the durable, named version of the TopSearch quick-filter described above.
Sorting & Selecting Multiple Tickets
Sorting
In List view, click a column header to sort by it — by due date to see the most urgent first, by status to group the workflow, by assignee to see each locator's load. Click again to reverse the order.
Selecting several at once
Sometimes you need to act on a batch of tickets together. The board supports multi-select:
- Tick the checkbox on each ticket row you want (or use the selection tools on the map to draw a box around several pins).
- A selection banner appears showing how many tickets are selected.
- Choose an action from the banner.
Two bulk actions are available, depending on your permissions:
- Bulk Assign — assign every selected ticket to one locator at once. Completed and cancelled tickets are skipped automatically.
- Export to CSV — download the selected tickets as a spreadsheet. You choose which columns to include, and you can save that column choice as your default for next time.
Export is capped at 500 tickets per download to keep the file manageable. Narrow your selection if you hit the limit.

Ticket Statuses & How They Change
Every ticket moves through a lifecycle. Knowing the statuses — and what moves a ticket from one to the next — is the core of working the board.
The main workflow
Most tickets follow this path:
Unassigned → Assigned → In Progress → Audit → Completed, with Cancelled as an administrator-only side exit.
| Status | Meaning |
|---|---|
| Unassigned | On the board but nobody owns it yet. |
| Assigned | A locator has been given the ticket. |
| In Progress | The locator is actively working it. |
| Audit | Submitted for review before it is finalised. |
| Needs Revision | An auditor sent it back for the locator to fix and resubmit. |
| Completed | Finished — marked and/or cleared, paperwork done. |
| Cancelled | Called off. Administrator action, hidden from normal views. |
You may also see older status names such as New, Assistance Needed, or Ongoing Project on existing tickets. They behave like the statuses above and are being phased toward the simpler workflow over time.
How a ticket changes status
- Assigning a ticket (to yourself or someone else) moves it from Unassigned to Assigned.
- Starting work moves it to In Progress.
- Completing a ticket marks the utilities, records the field markings, and moves it to Completed — or, if the locator has Hold-for-Review turned on, into the Audit queue first.
- Cancelling (administrators) moves it to Cancelled.
The full details of completing and auditing are covered in the Completing Tickets and Auditor Workflow guides.
Before a ticket can be completed, every utility on it must have an outcome chosen (marked, field-clear, or office-clear). LocateOps blocks completion if any utility is still undecided — this protects you from accidentally closing out an unfinished locate.
Working the Board on Mobile
Locators spend most of their day on a phone. The mobile board is built for that — large tap targets, no hover, and bottom sheets instead of pop-up windows.
- Open Tickets from the bottom navigation bar.
- Tickets appear as cards. Tap a card to open the full ticket.
- The same quick views and search are available, sized for touch.
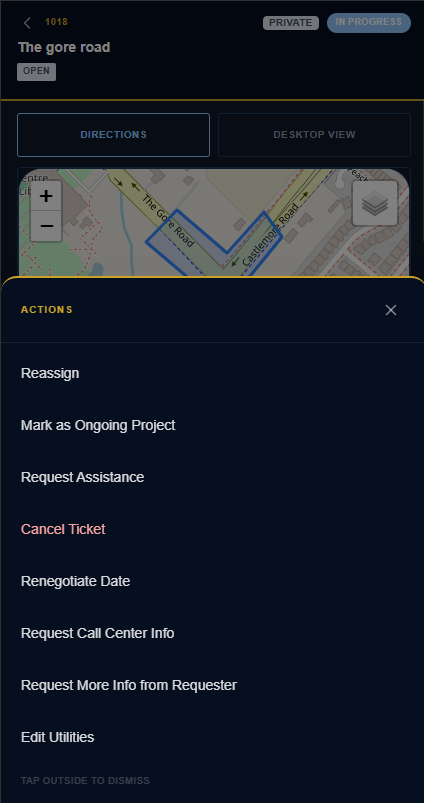
- Each card has an actions menu (the “⋯” button) for quick actions without opening the ticket.
- Bulk Download All is available on mobile; the wider desktop bulk tools (per-row checkboxes, Download Selected) stay on desktop.
Whatever you do on the phone syncs instantly with the desktop board — they are the same live data, not separate copies.
Common Scenarios
“I just started my shift — what should I work on?”
Open My Tickets, then glance at Late. Work the late ones first, then the rest of your assigned tickets by due date.
“A ticket I had is gone.”
Check the Cancelled quick view — it was probably cancelled (call centres cancel tickets routinely). Tickets are never deleted, so it will be there if so. If it is not cancelled, clear any active search or quick view that might be hiding it.
“I need to hand my tickets to a colleague.”
Select the tickets (checkboxes), then use Bulk Assign to move them all to the other locator in one step. Completed ones are skipped automatically.
“The dispatcher wants a spreadsheet of this week's completions.”
Filter to the completed tickets (a saved search or quick view), select them, and Export to CSV with the columns they need.
“There's a gold dot on a ticket.”
The call centre sent an update that needs administrator review. Open the ticket to read the review banner — it explains what changed. A blue dot means the update was already applied and is just informational.
Gotchas & Tips
Cancelled tickets hide everywhere but the Cancelled tab. Always check there before concluding a ticket is missing.
A ticket can't be completed with an undecided utility. If the Complete button is blocked, open the ticket and make sure every utility has an outcome chosen.
Your view preference and split-divider position are personal and saved automatically. Changing them won't affect your teammates.
Map and Split views are desktop-only. On a phone you always get the List view — this is by design, not a bug.
Save the searches you run daily. Five minutes building a saved search pays for itself within a week of not re-typing the same filters.
Sort by due date in List view to keep the most urgent work at the top of your screen.
Can't find what you need? We respond personally to every message.